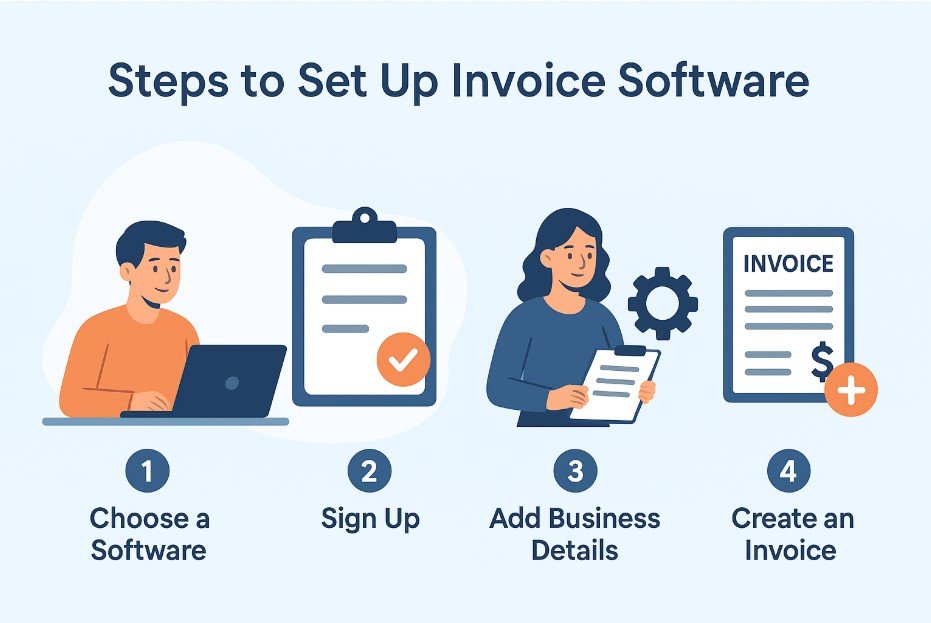
In today’s fast-paced business environment, efficient invoicing is crucial for managing cash flow, maintaining accurate records, and ensuring clients pay on time. Invoice software has become an essential tool for freelancers, small businesses, and large enterprises alike. However, simply purchasing the software isn’t enough—you need to set it up correctly to get the most value from it.
In this guide, we’ll walk you through the steps to set up invoice software so you can start billing clients efficiently and professionally.
Step 1: Choose the Right Invoice Software
Before you begin, selecting the right invoice software is key. There are dozens of options available, each with unique features. When making your choice, consider:
- Ease of use: Look for an intuitive interface that doesn’t require extensive training.
- Customization: The ability to add your logo, choose templates, and adjust invoice fields.
- Payment integration: Support for online payments such as PayPal, Stripe, or bank transfers.
- Reporting tools: Access to insights about outstanding payments, recurring invoices, and revenue trends.
- Scalability: Software that can grow with your business as needs change.
Popular choices include FreshBooks, QuickBooks, Zoho Invoice, and Xero. Take advantage of free trials before committing to a subscription
.
Step 2: Install or Access the Software
Most invoice software today is cloud-based, meaning you can access it through a web browser without installation. For desktop-based solutions, follow the vendor’s installation instructions:
- Cloud-based: Sign up for an account, verify your email, and log in via your browser.
- Desktop-based: Download the installer, run the setup file, and follow the prompts.
- Mobile apps: Install the companion app on your smartphone or tablet for on-the-go invoicing.
Cloud solutions are generally recommended for their flexibility and automatic updates.
Step 3: Enter Your Business Information
Once you’re inside the software, the first setup task is to add your business details. These will automatically appear on every invoice you create. Include:
- Business name
- Logo (high-resolution for a professional look)
- Address
- Email and phone number
- Website URL (if applicable)
- Tax identification number (if relevant in your country)
Accurate and consistent information builds trust with clients and keeps your invoices legally compliant.
Step 4: Customize Your Invoice Template
A professional, branded invoice can make a strong impression on clients. Most invoice software offers customizable templates. You can:
- Select a layout that fits your style
- Adjust color schemes to match your brand identity
- Choose a font that is clear and easy to read
- Add custom fields like purchase order numbers, payment terms, or project details
The goal is to make your invoices both attractive and easy to understand.
Step 5: Set Up Tax Rates and Currencies
If your business charges taxes, configure them in the settings before creating your first invoice. This ensures tax calculations are automatic. You should also set your default currency:
- Domestic businesses: Use your local currency.
- International businesses: Add multiple currency options if you work with overseas clients.
Make sure your tax settings comply with local regulations to avoid legal issues.
Step 6: Add Products and Services
To speed up invoice creation, pre-load your most common products or services into the system. Include:
- Item or service name
- Description
- Unit price
- Applicable tax rate
This saves time by allowing you to add items with a single click rather than retyping details each time.
Step 7: Configure Payment Options
Clients are more likely to pay quickly when the process is convenient. Most invoice software integrates with multiple payment gateways. Common options include:
- Credit/Debit cards via Stripe, Square, or PayPal
- Bank transfers
- Mobile payment apps like Apple Pay or Google Pay
Enable at least one online payment method to make transactions smoother.
Step 8: Set Payment Terms and Policies
Clear payment terms reduce confusion and disputes. In your invoice software, set default terms such as:
- Payment due date (e.g., “Net 15” or “Net 30”)
- Late fee policy
- Discounts for early payment
- Notes regarding accepted payment methods
These terms will appear automatically on every invoice, saving you from typing them repeatedly.
Step 9: Test the System
Before sending real invoices to clients, create a test invoice to check for errors. Send it to your own email address or a colleague to ensure:
- Formatting is correct
- Business details are accurate
- Tax calculations are right
- Payment links work properly
Testing helps you avoid embarrassing mistakes with actual clients.
Step 10: Start Sending Invoices and Track Payments
Once everything is set up, you can begin creating and sending invoices. Most modern software allows you to:
- Email invoices directly from the platform
- Set up recurring invoices for subscription services
- Receive payment notifications
- Track overdue invoices and send reminders
Keeping track of payments in one place will make your accounting much easier.
Step 11: Review and Optimize Regularly
Your invoicing process shouldn’t be static. As your business grows, review your setup periodically to:
- Add new products or services
- Update payment terms or tax rates
- Integrate with accounting software for better financial tracking
- Explore automation features like recurring billing and payment reminders
Regular updates ensure your invoicing process stays efficient and relevant.
Final Thoughts
Setting up invoice software might seem like a one-time task, but it’s actually the foundation for a smoother cash flow and better client relationships. By following these steps—choosing the right software, customizing templates, setting payment options, and optimizing regularly—you’ll not only save time but also project a professional image.
With the right setup, your invoice software becomes more than just a billing tool—it’s a vital part of your business’s financial health.
